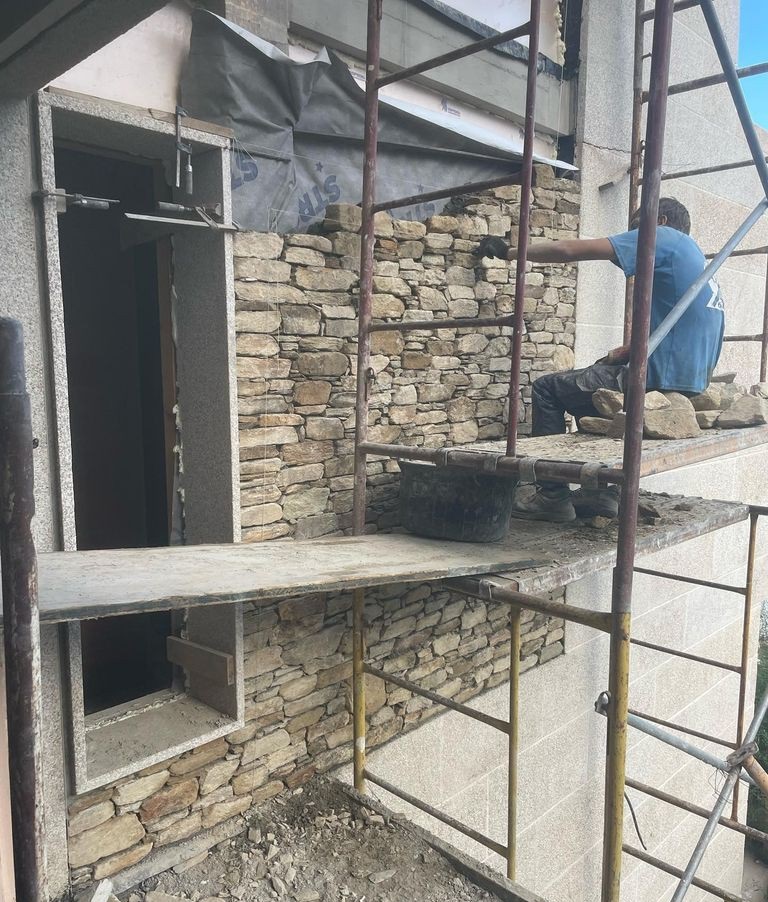
Natural Stone Design: Installing stone facing is a great way to add character to a home or business. It can be used to create the look of a natural stone floor, without the hassle of actually installing one. This project is easy to do at home and requires minimal tools, but it does require some care when working with your existing materials.
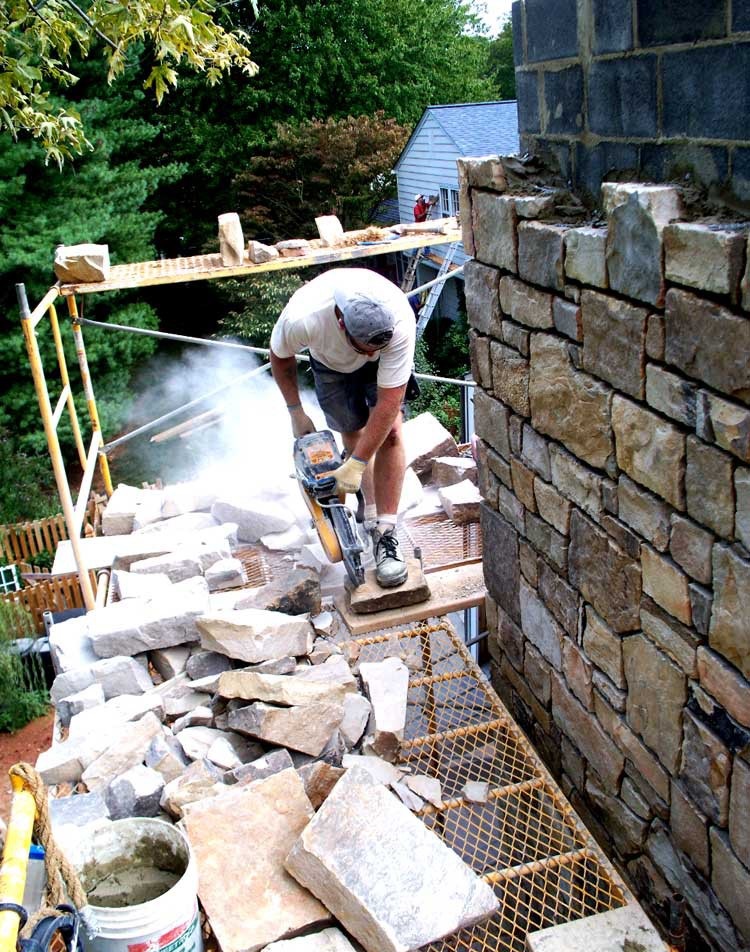
Natural Stone Design How to Install DIY 1
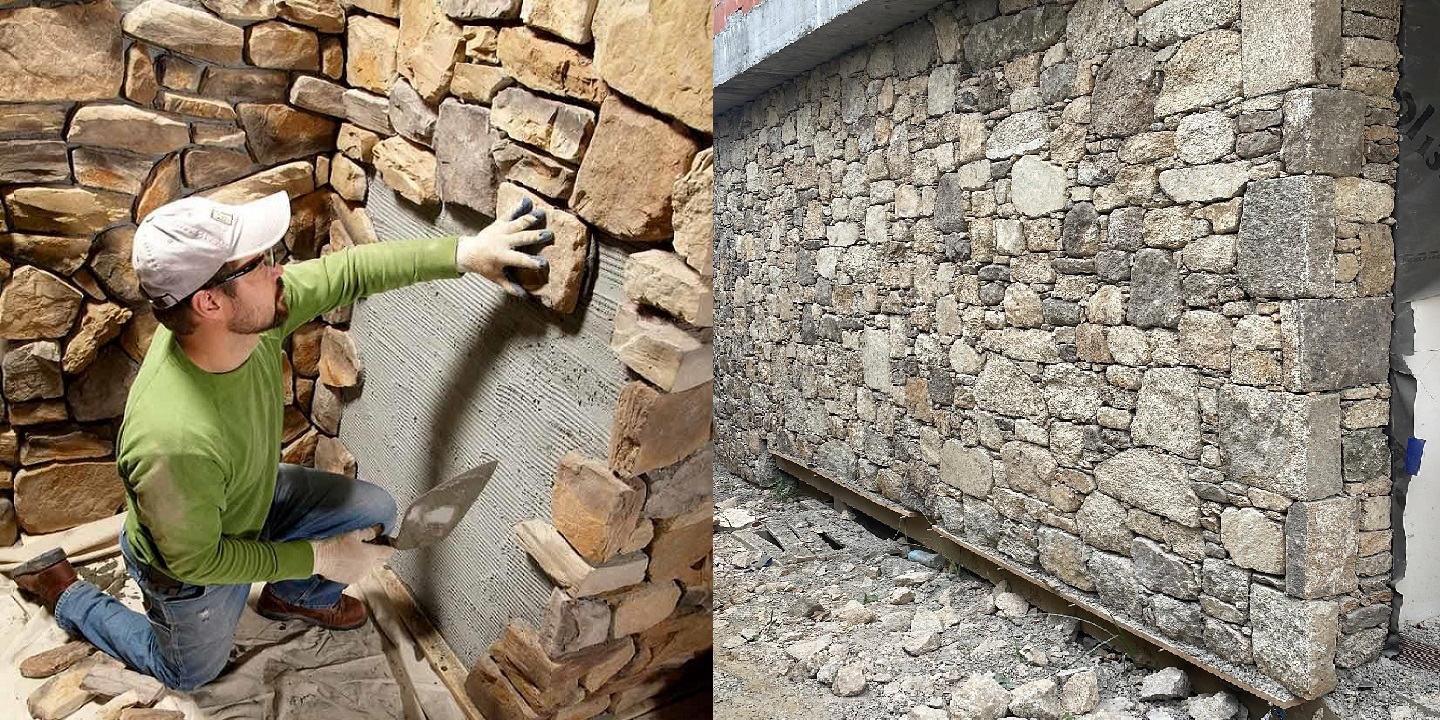
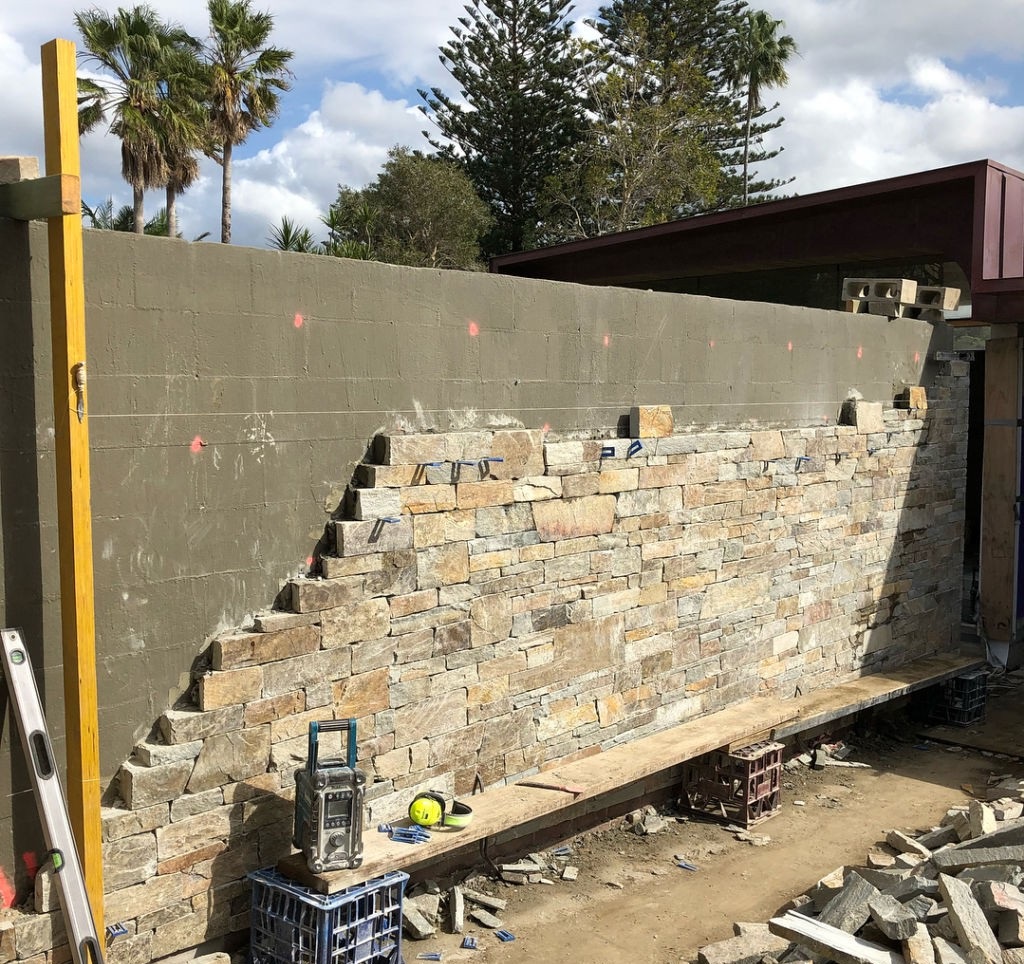
We’ve all seen it—a gorgeous stone wall with a smooth, uniform surface. It might look like the work of a pro, but actually it was done by some lucky DIYer.
If you want your own smooth stone facing, it’s not as complicated as it sounds! Here’s how to do it yourself:
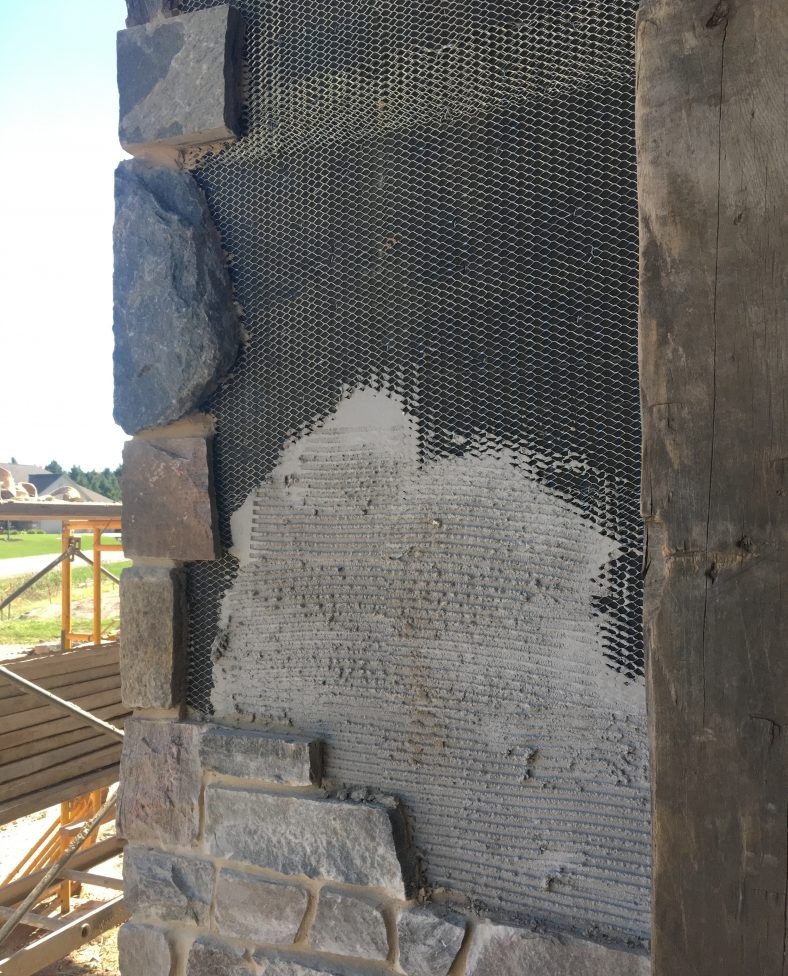
- Measure and mark out where you want to install your facing. You’ll want to be sure to cut off any excess length so that your stone is flush with the wall when you’re done.
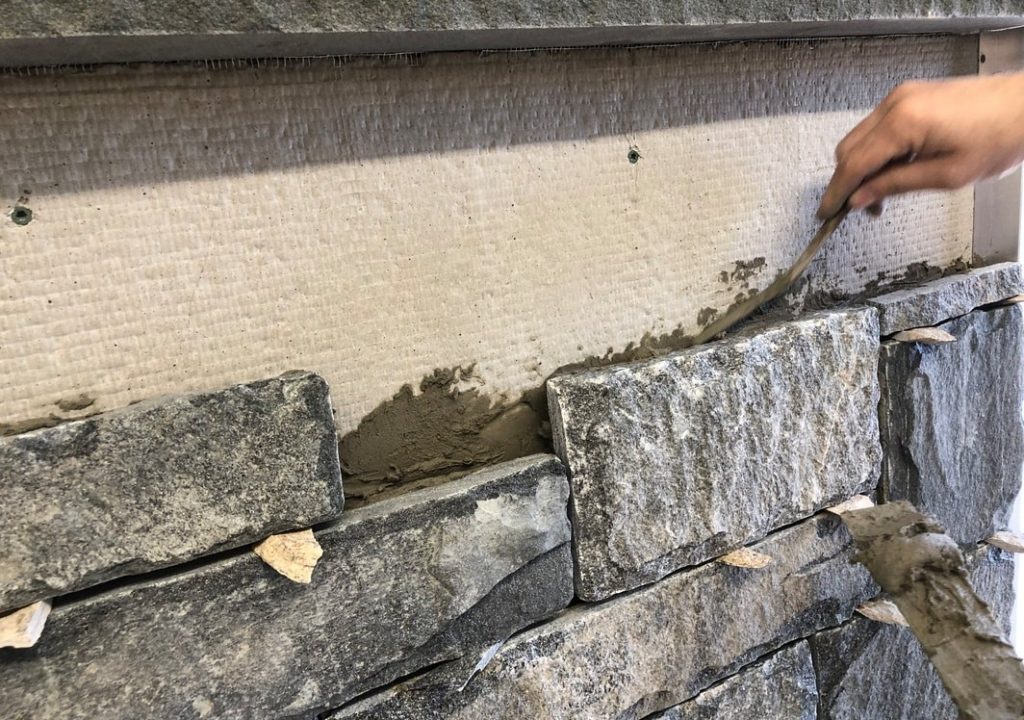
- Cut out the pieces using a masonry saw or jig saw (but don’t forget safety goggles!). If you’re using mortar for this project, measure out and mix up your mortar according to the directions on the bag—you want something that will stick well but not dry too quickly (if you wait too long, it will crack). Let the mortar dry for at least four hours before installing your stones.
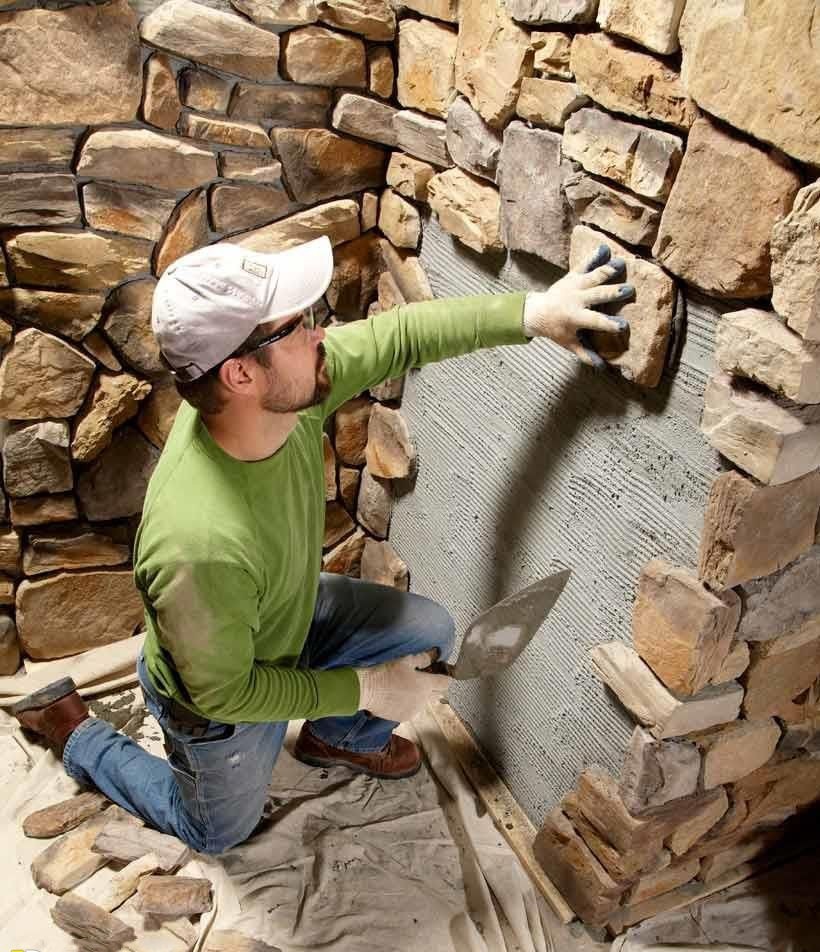
- Once they’re dry, apply mortar alongside one side of each piece of stone facing and press firmly into place against the wall until they’re flush with each other and level with the rest of your wall

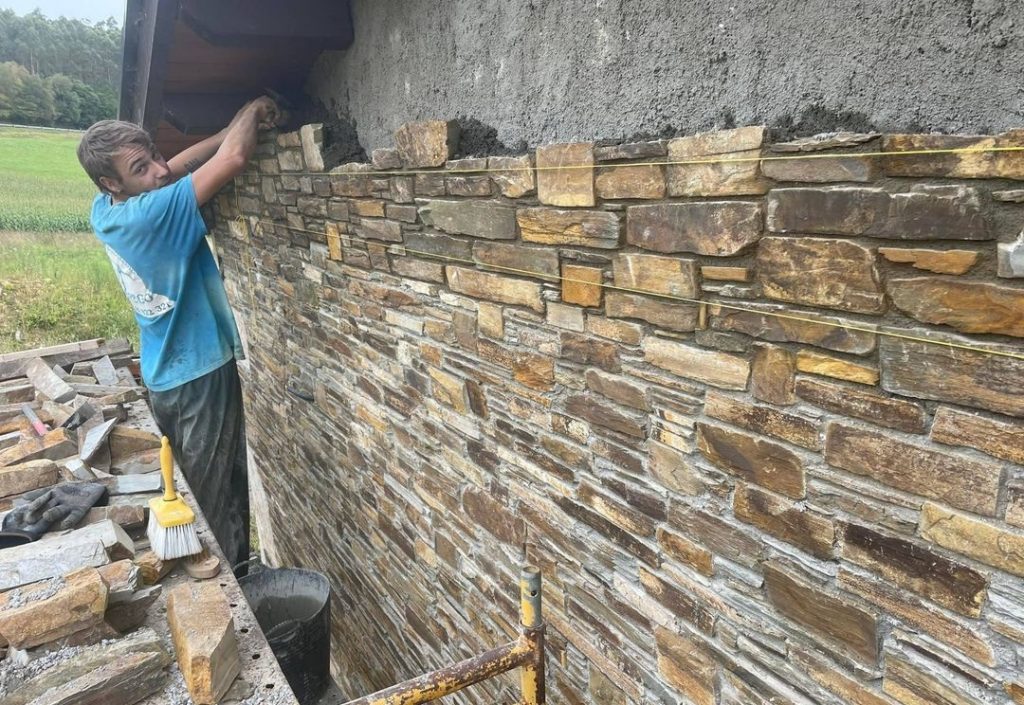
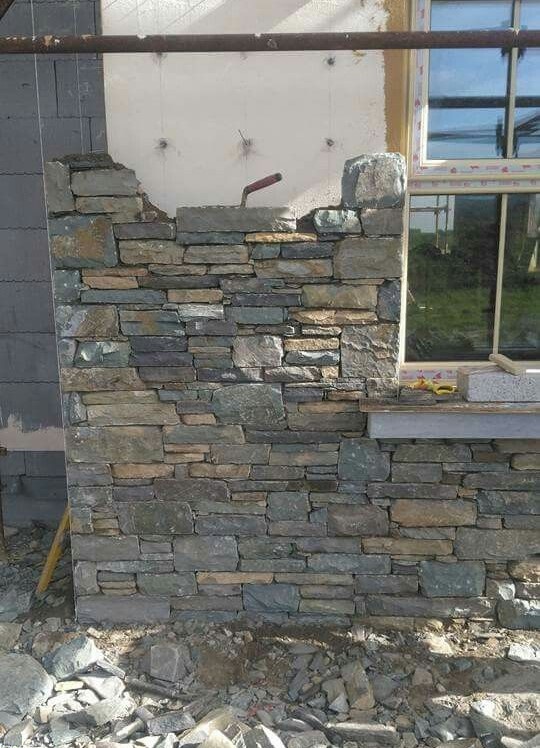
Natural Stone Design How to Install DIY 2
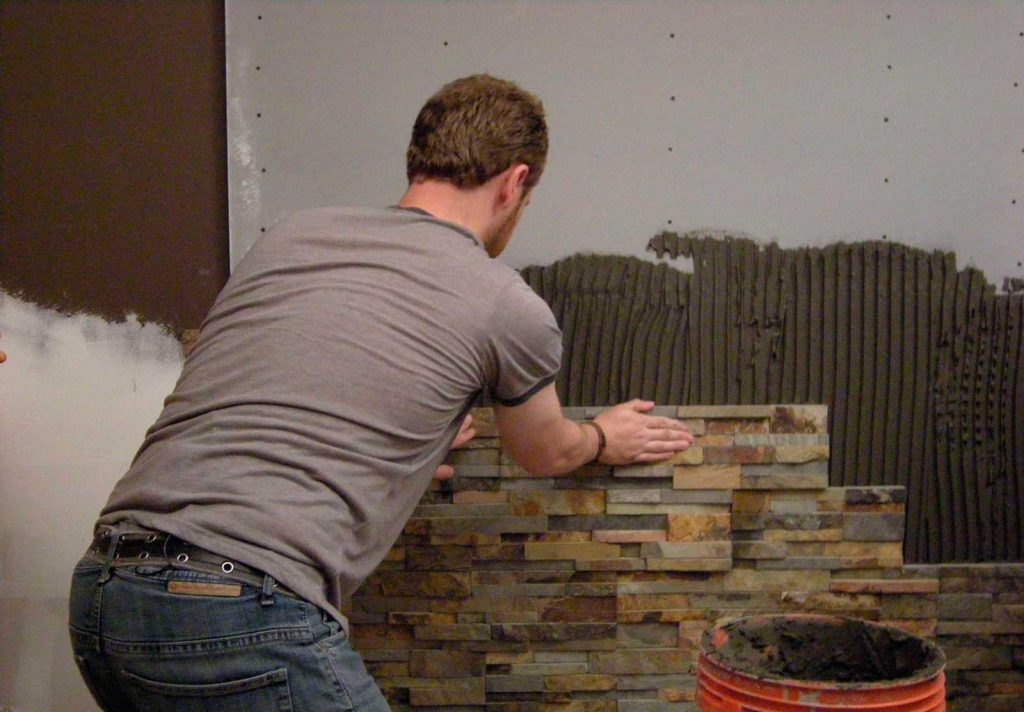
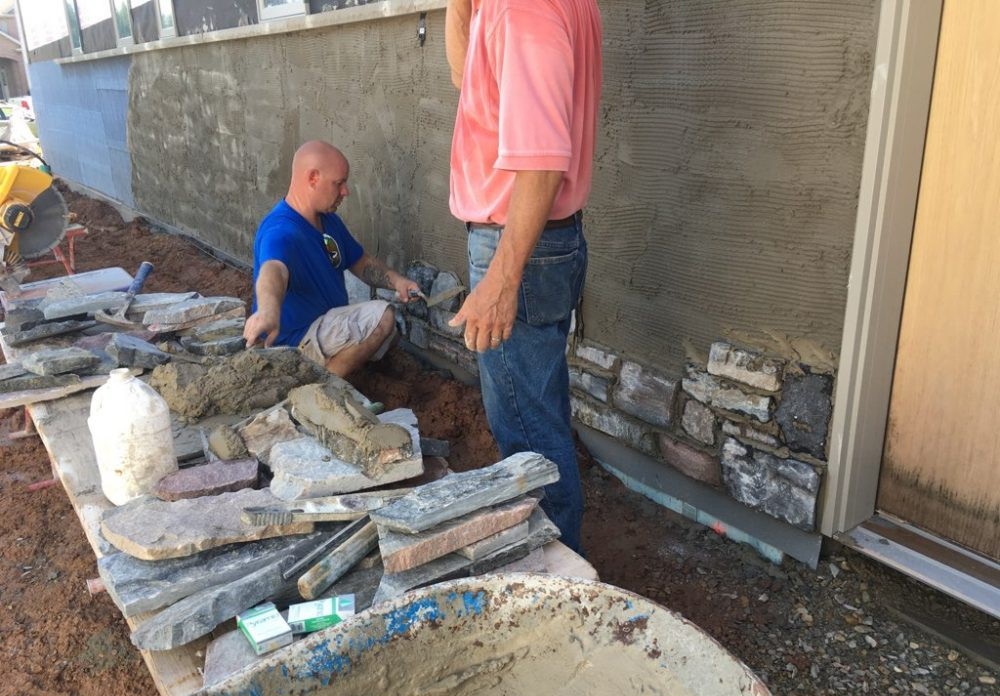
Installing a stone facing is an easy DIY project that you can do yourself. Here’s how to do it:
- Buy a piece of natural stone (such as limestone or marble).
- Place the stone in a tray or bucket and cover it with water. Let the stone soak for at least 30 minutes, but no more than an hour.
- Wash off the excess water with a hose, then remove any debris with a clean rag or brush.
- Allow the stone to dry completely before beginning installation on your wall.
- Prepare the surface by sanding if needed, using a medium-grit sandpaper (120 grit). Apply primer or sealant first if desired; then apply paint over the sanded surface, allowing ample drying time between coats of paint and between coats of sealant/primer if desired; then apply finish coat(s) of paint over entire wall area where stone will be placed; wait at least 24 hours before installing stones on top of sealed wall area
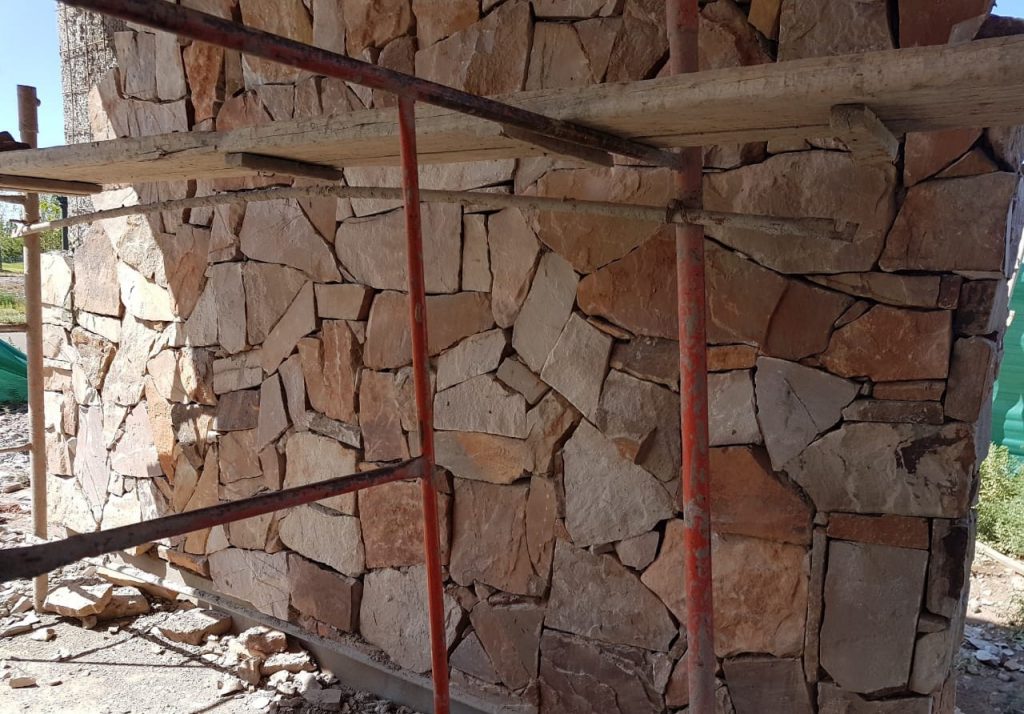
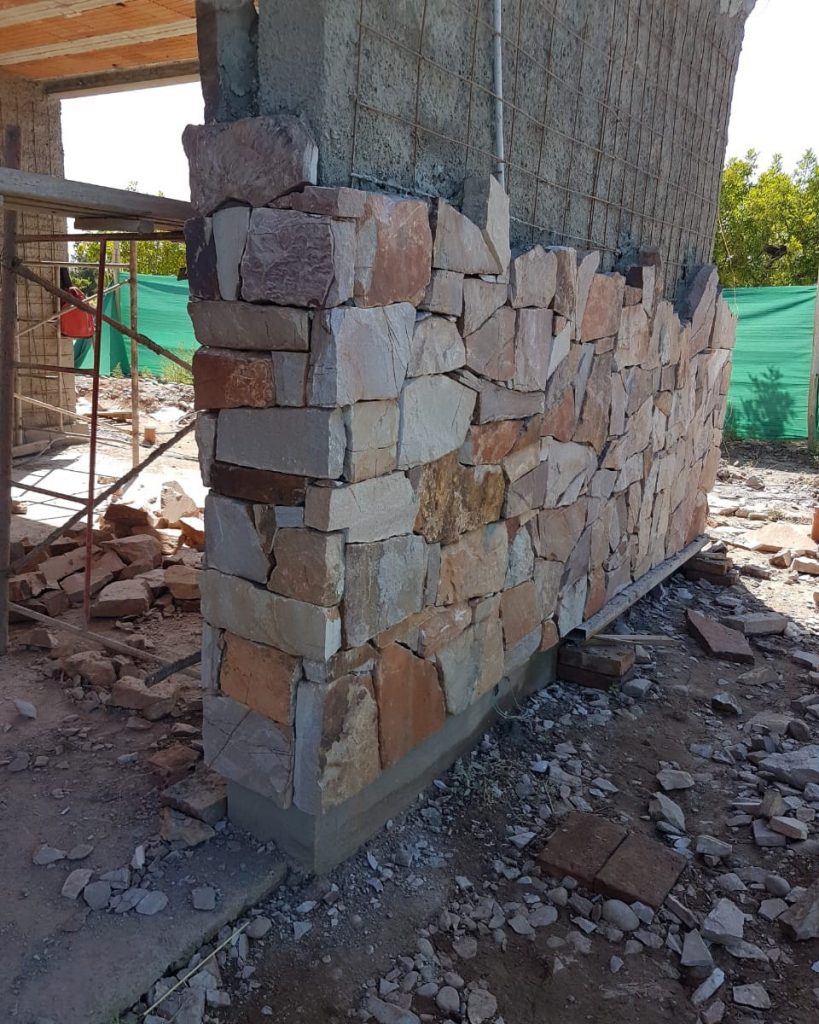
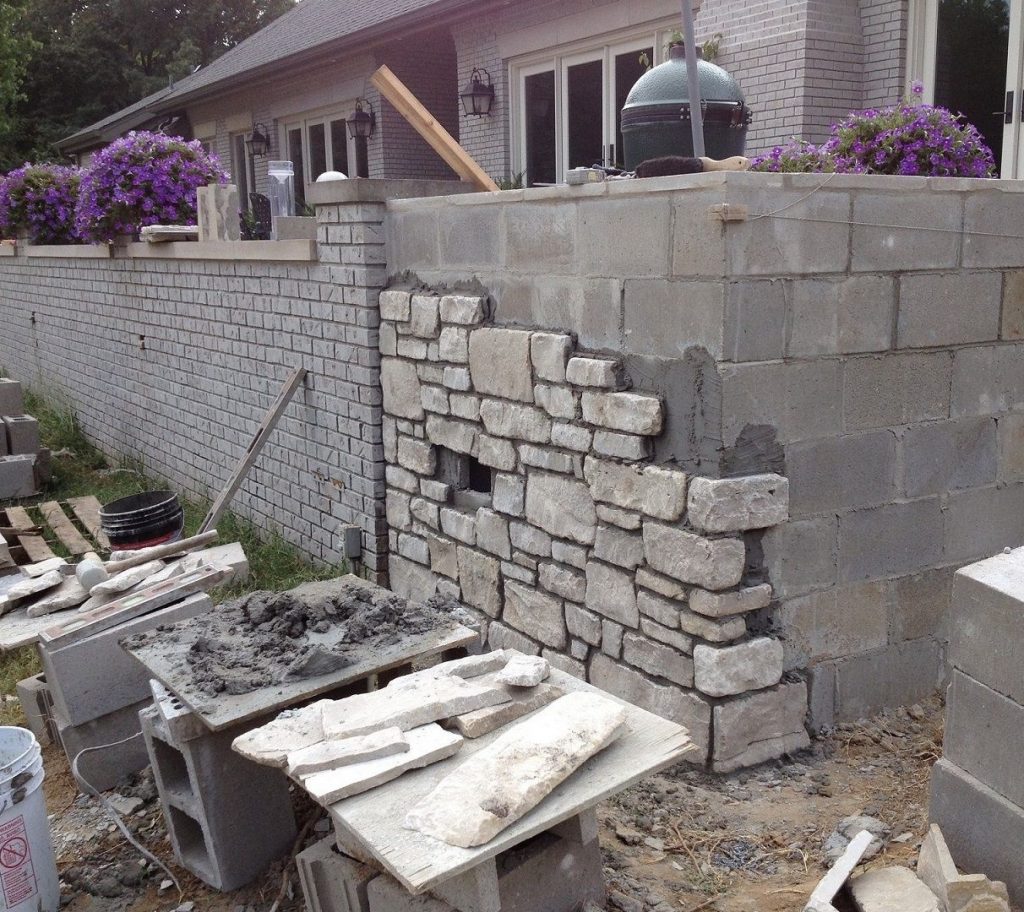
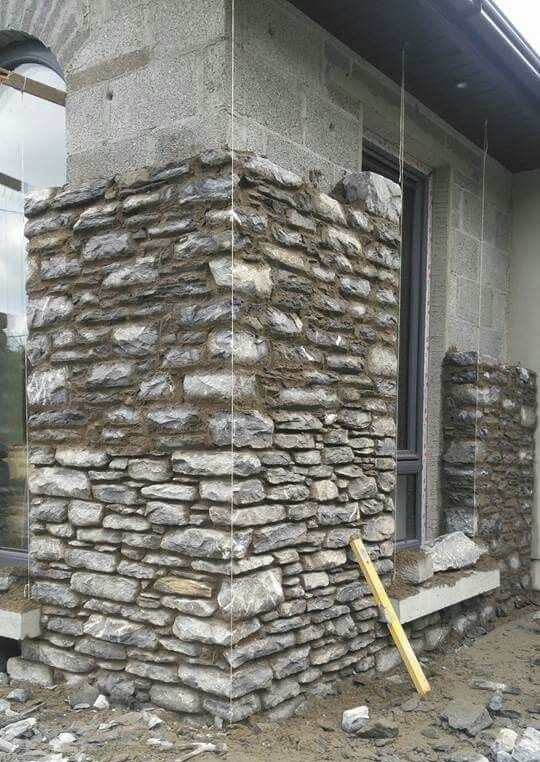
Natural Stone Design How to Install DIY 3
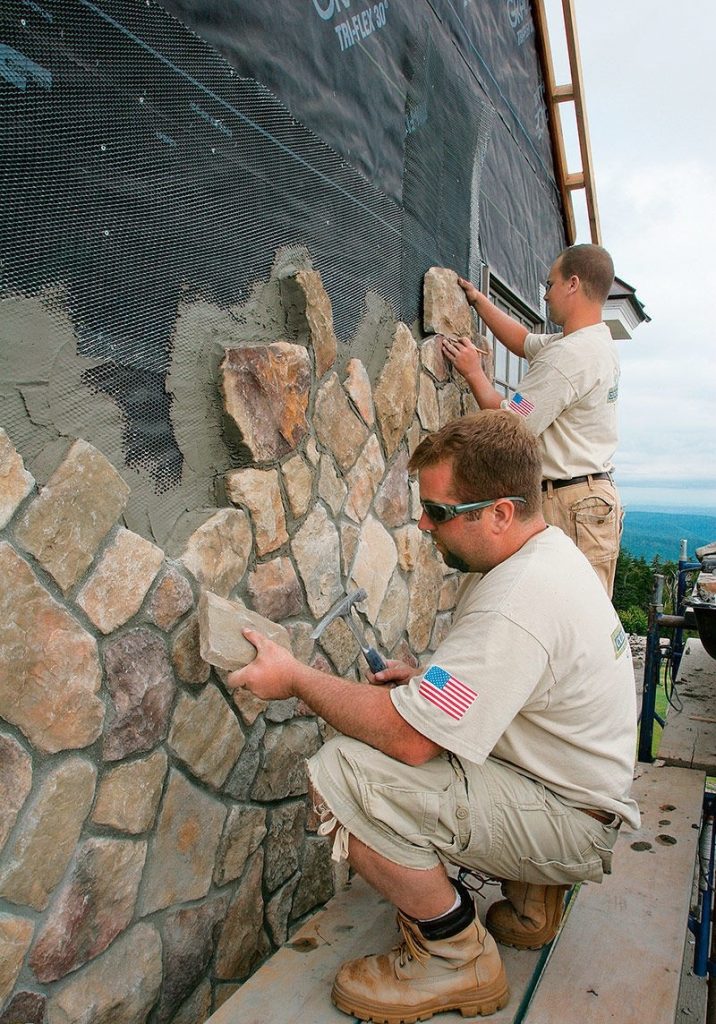
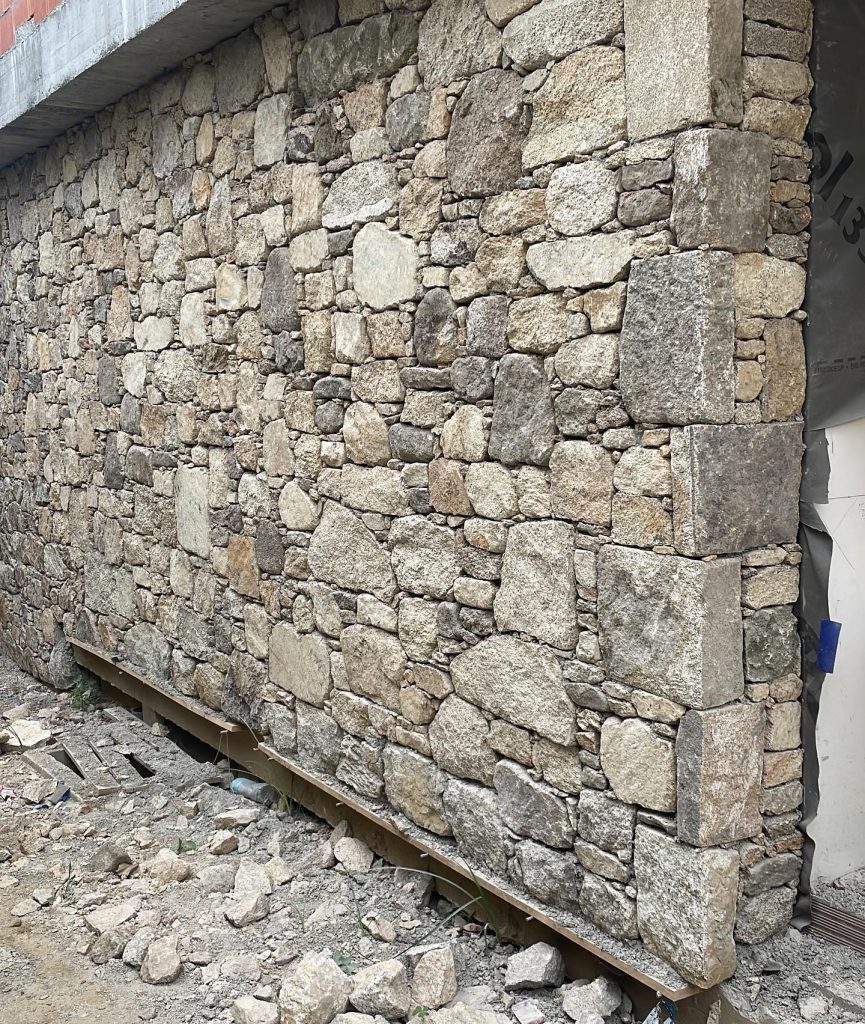
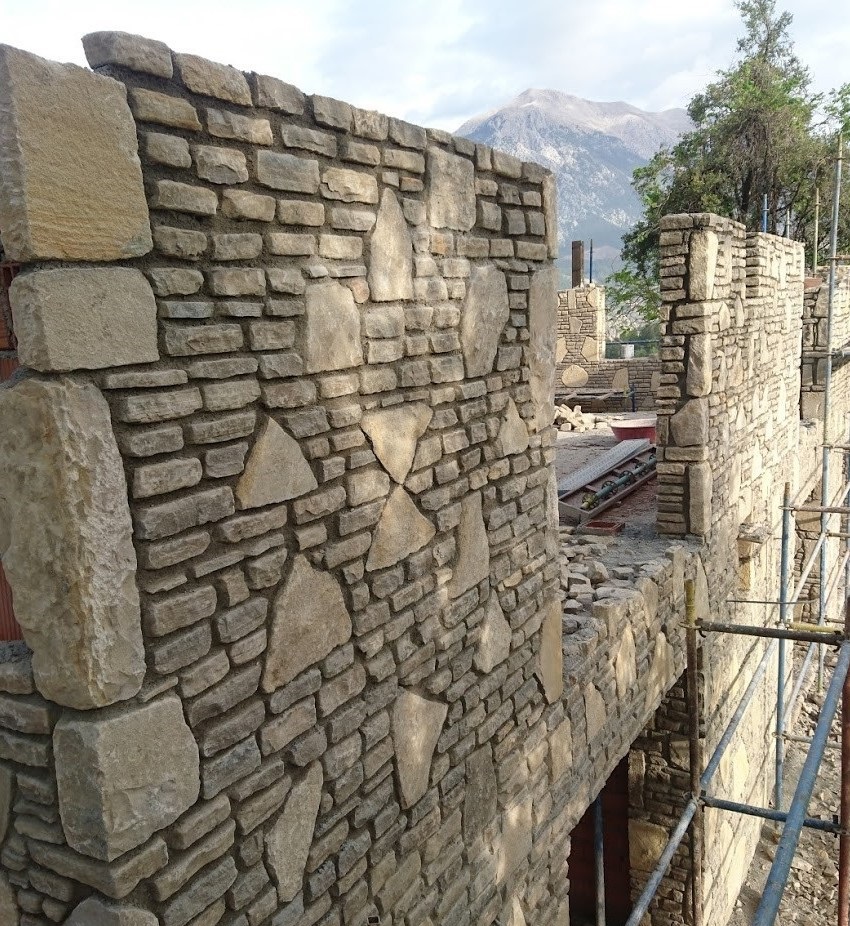
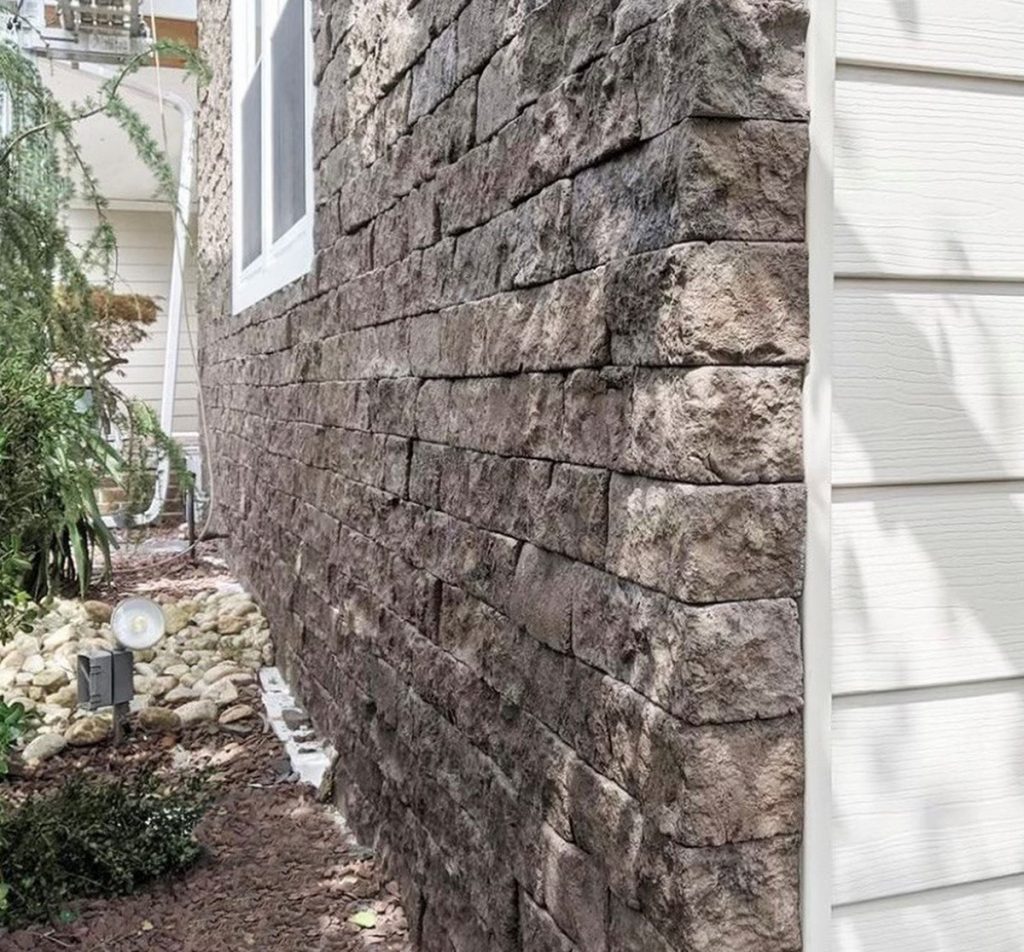
Natural stone can be a beautiful addition to the home. It’s also one of the most versatile options, which is why it’s a popular choice for homeowners who want to make their homes more sustainable.
Whether you’re installing natural stone in your kitchen, bathroom, or laundry room, there are some basic steps that you can follow to ensure that your installation goes smoothly and looks great. Here are some tips:
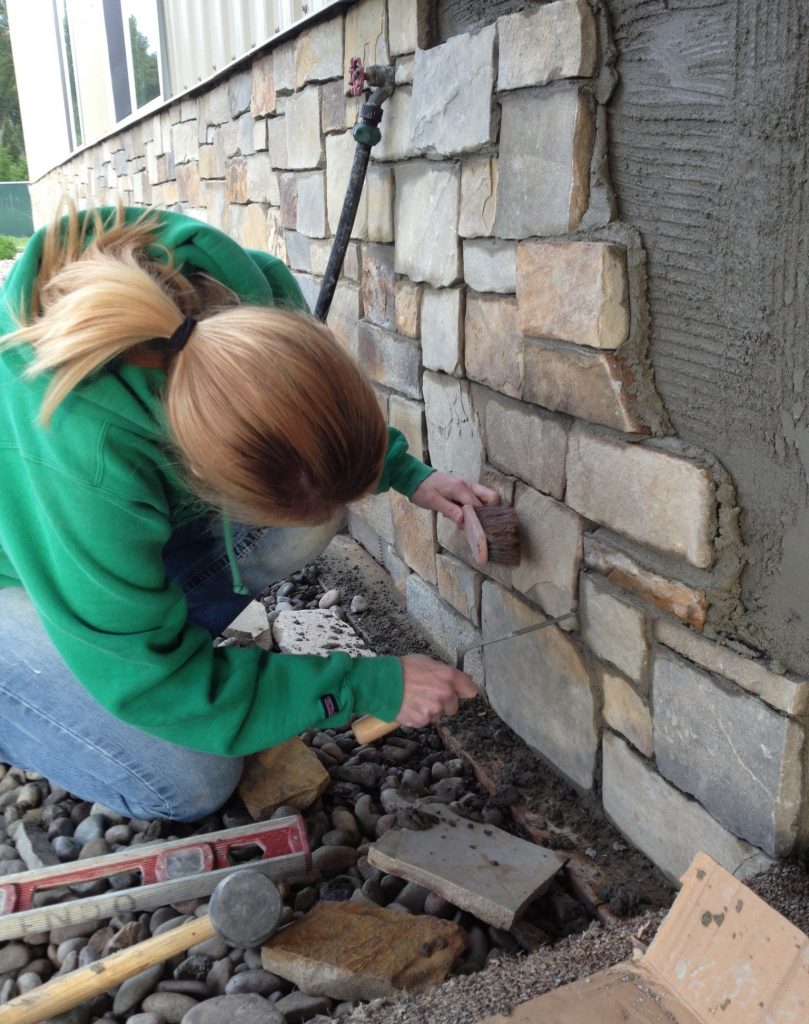
- Clean the surface well with a damp rag so that any debris is removed before moving on.
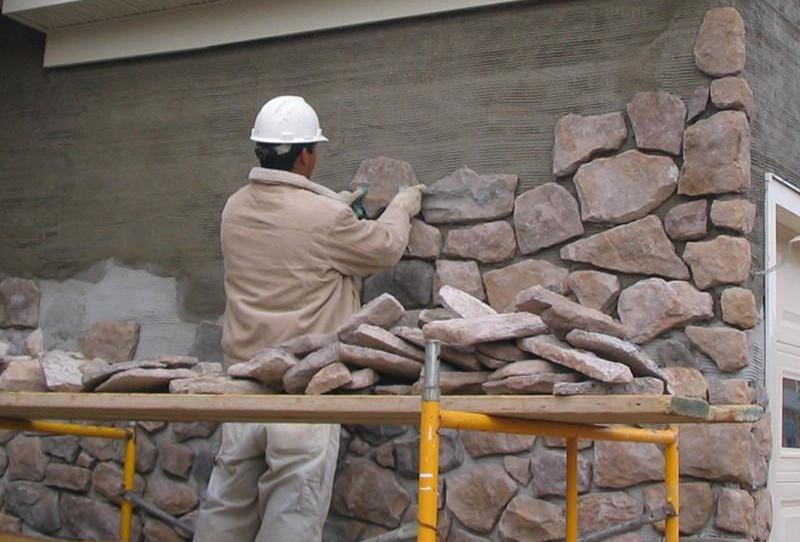
- Use a trowel or rubber mallet to prepare the area for installing your stone. This will prevent damage to your walls and flooring if you accidentally hit them with a hammer or other tool during installation.
- Use an adhesive for attaching small pieces of stone together; this will help prevent them from shifting as they are wrapped around each other—especially when installing larger stones like granite tiles or marble slabs! Be sure to use high-quality adhesive so that it doesn’t yellow over time or melt under extreme heat conditions like those found in kitchens or bathrooms–this could lead to cracks developing over time if left untreated!